Well, this has been two years in the making (minus a six-month break for our sophomore cruise), but it’s finally here. Our long-awaited bathroom.
But first, a trip down memory lane…
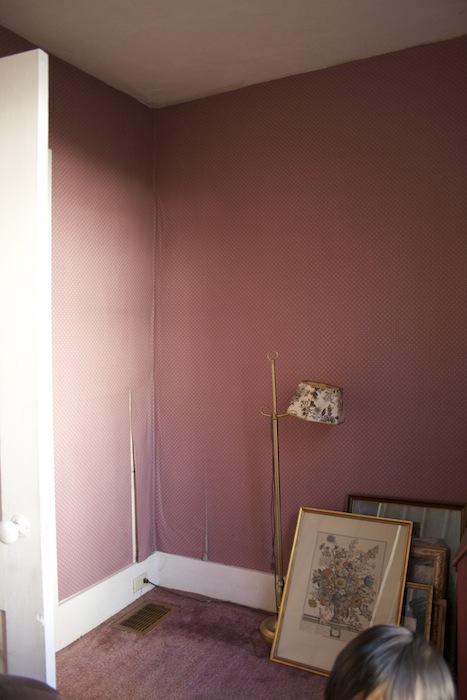
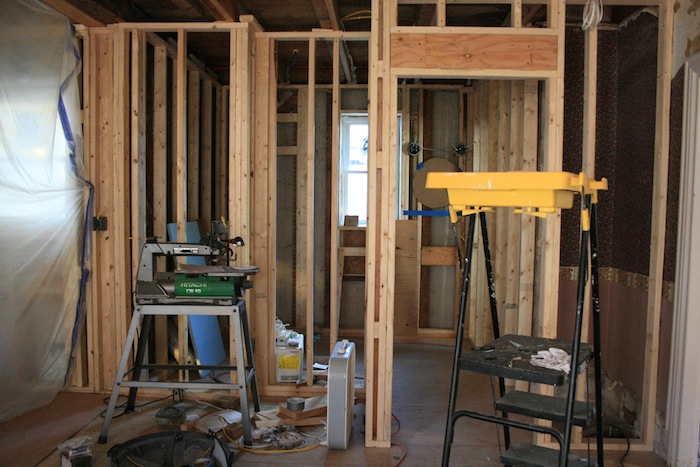
As I was gathering these photos, I really saw how much work this has been and how much it took to get here. It made me appreciate our new bathroom even more. As I’ve mentioned before, we decided to build our new bathroom in one of the four parlors. Here is a view into the parlor #3 before deconstruction.
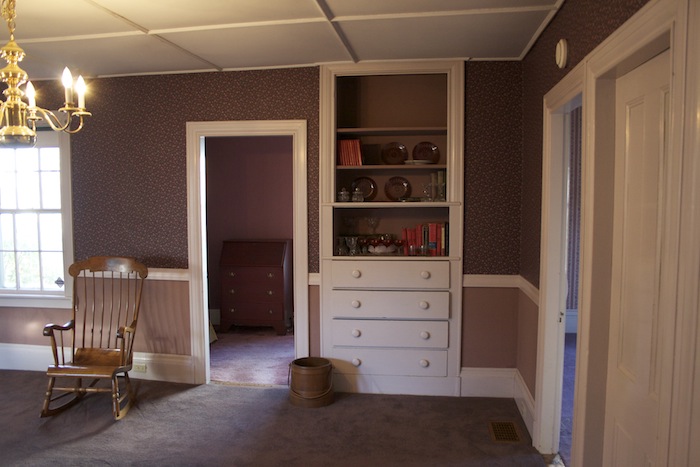
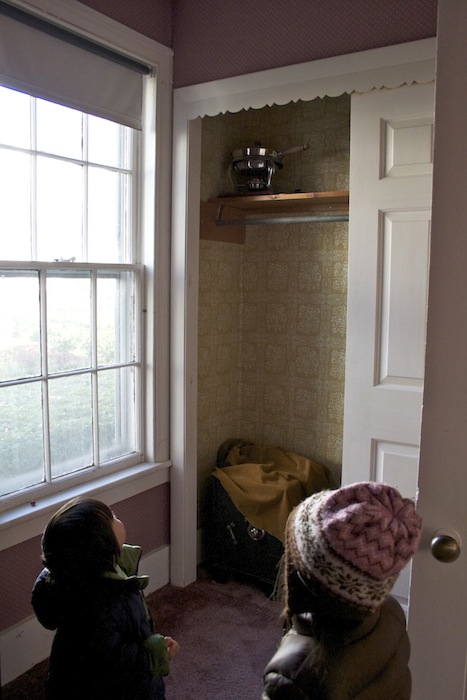
The room is very small, with a tiny closet.
Tig started by tearing down the walls.

Do you see the stud with the live edge below? Keep that in mind. We’ll revisit that later.

He removed the floor down to the joists and sistered them with LVL.

Here’s the sub-floor, all nicely leveled with the new stud wall for insulation.
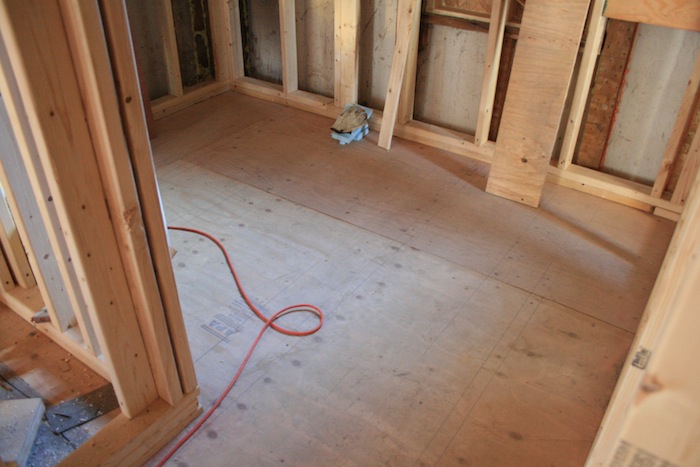
Tig re-configured the interior wall to be shared with the future kitchen. I’ll explain why in a minute. Just beyond the ladder is a circular piece of cardboard taped to the far wall to show where the mirror and sconces will be placed.
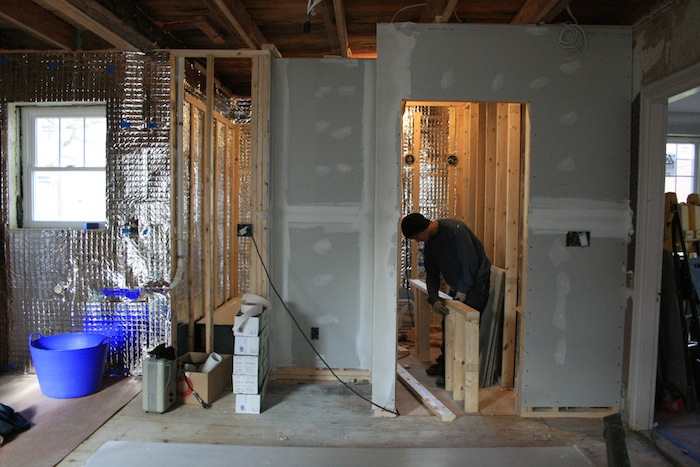
Here it is with insulation, radiant barrier and drywall. You can see that Tig made the bathroom slightly larger by pushing the doorway into our main space. This was a brilliant move, because it created both a linen closet (on the right when you first enter the bathroom) AND a niche for the refrigerator (to the left of the doorway). The niche can hold a regular 30-inch refrigerator, while keeping it flush with the counters. That way we get the look of a counter-depth refrigerator without the hefty price tag. And we can hold more food in it. (Tig is making the ceiling dropdown in pic)
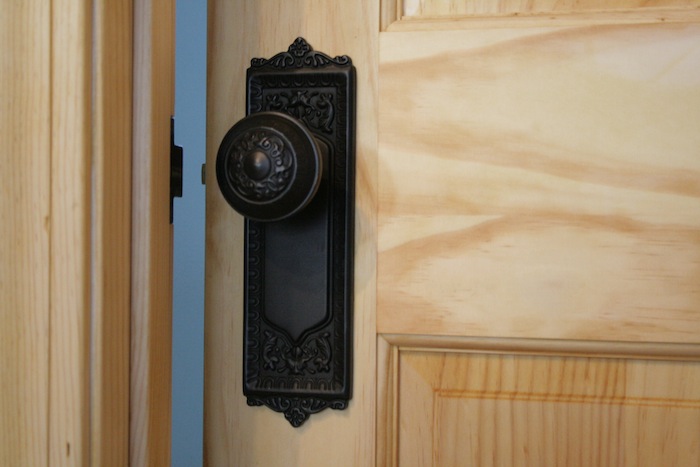
I’d like to take a pause to thank our friend Miss D for gifting us this gorgeous doorknob. We’ve put it to good use. It’s the best looking doorknob in the whole house.
So, without further ado…
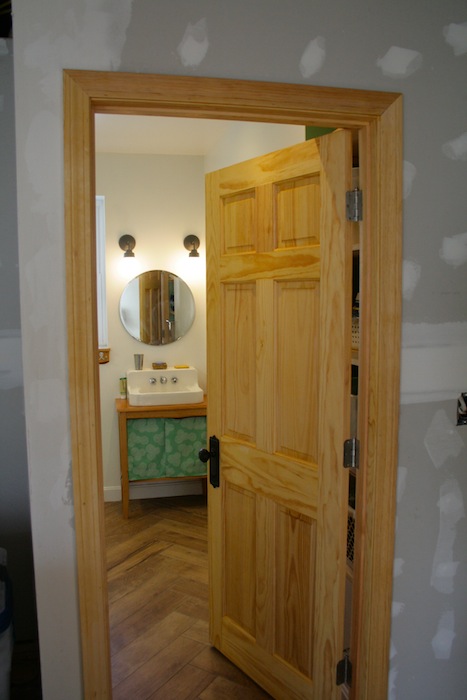
We installed a new door that was treated with Rubio Monocoat (the same as our floors). The linen closet is on the right just past the door, and the sink is straight ahead.
Here’s a wide angle shot of the whole bathroom.
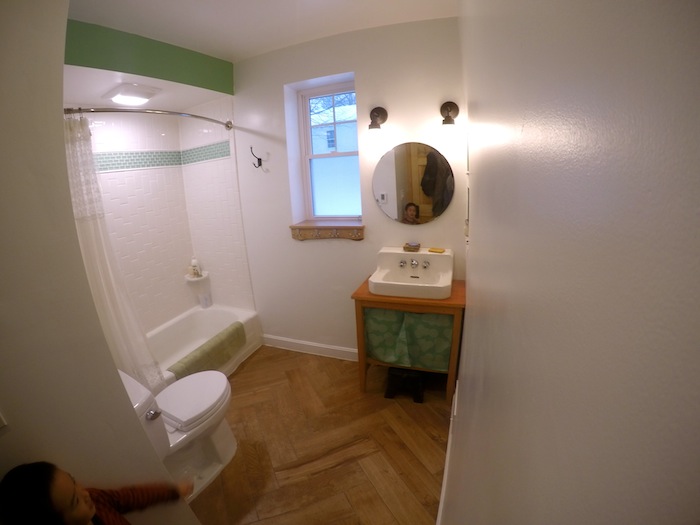
We had put in a smaller window with a privacy pane on the bottom. All our first floor windows are made in Maine, from a local company, Matthews Brothers.
The sink we got at the Habitat for Humanity ReStore for $15. Tig bought a few new parts for the faucet and replaced the inner valves and seals. I designed the sink stand and he built it. Remember the live-edged studs I mentioned earlier? They were old growth douglas fir studs with a beautiful tight grain. He saved all the studs and re-used them for the sink vanity base. The old studs were full of old square nails. Tig pulled each one of them out before planing the wood. The table top is from a douglas fir coffee table he was going to build years ago, but never got around to. The vanity and windowsill were treated with Watco Danish Oil and the tops were sealed with spar polyurethane (left over from boat projects).
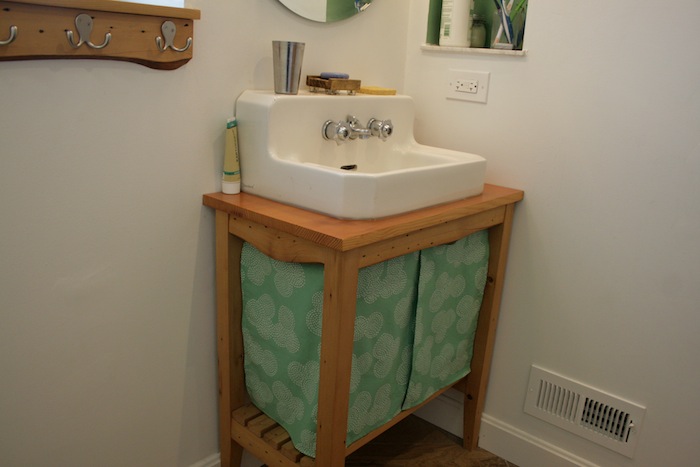
Tig kept two live edges right under the table top. I sewed the skirt under the sink.
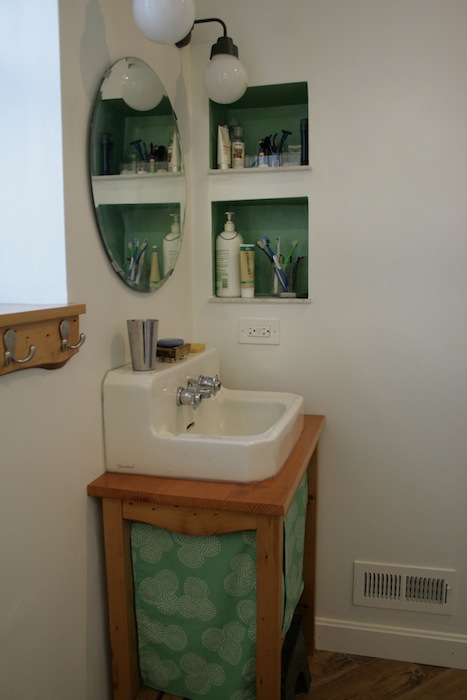
I asked for two cubbies next to the sink. They were painted in the accent color and the shelves were made out of marble tile that Tig got from the ReStore. The scones are IKEA’s VITEMÖLLA wall lamp. the mirror is also from IKEA.
Also note the wall register for our forced hot air furnace that runs on oil. Forced air is not our favorite, but came with house and works well. Originally all the registers were located in the floors, ugh! Floor registers get disgusting with all the dust and dirt that accumulates on floors. So Tig re-ducted all the registers to make them come out through the walls and patched over any floor pieces (he used pieces of wood salvaged from the floors of this room since we decided to go with tile).
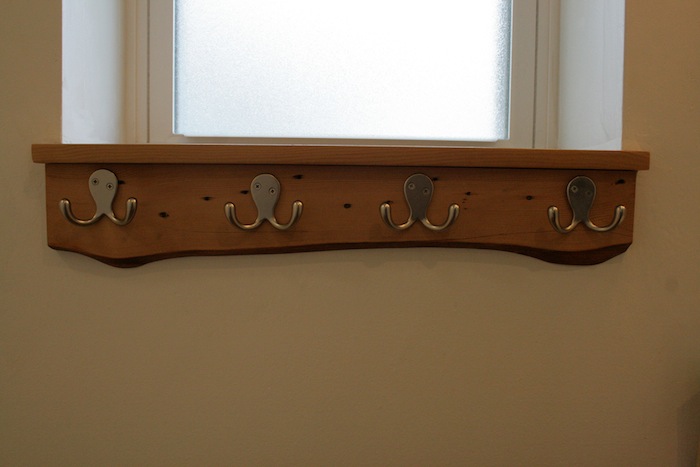
This beautiful windowsill was made out of the reclaimed studs. We’d like to thank our friend Liza for lending her shop space and biscuit-joiner to make the windowsill possible. Tig kept the live edge for the piece under the windowsill and added hooks for towels.
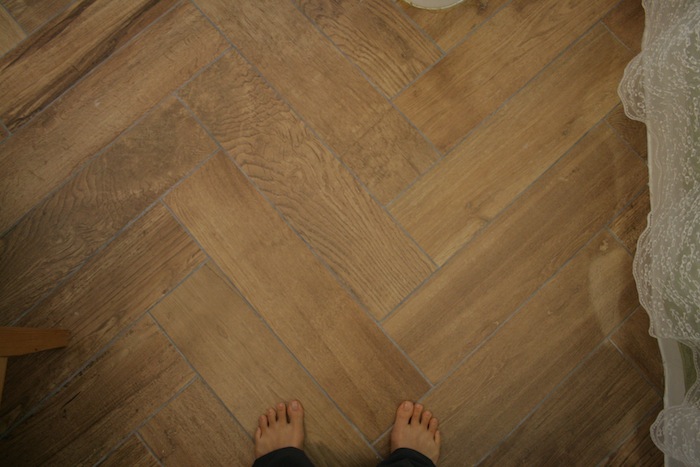
Our floors are faux wood tile from a big box home improvement store. It’s Lowe’s Style Selections porcelain tile that cost about $2/square foot. I asked for a herringbone pattern, because I didn’t like the look of short pieces of wood laid end-to-end. The best part about the floor is that it is heated! (We used the SunTouch radiant floor system.)
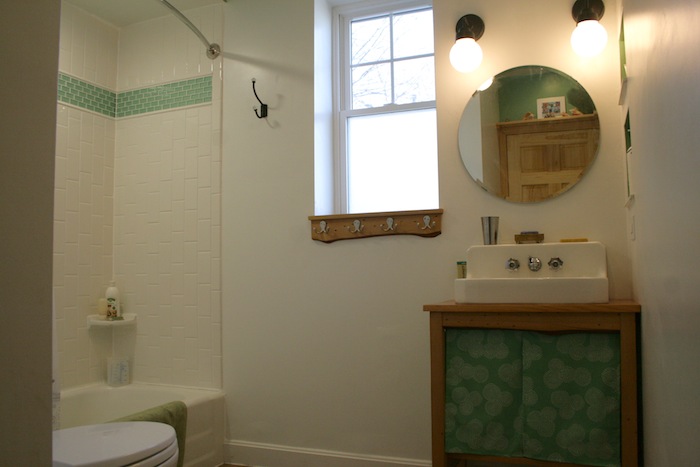
Continuing counter-clockwise, this is the view of the shower area. We got the big hook from the clearance bin at Restoration Hardware ten years ago and carried it around with us throughout all our moves (OK, we didn’t bring it on our boat trips, that’s just silly. It was in our old house and Tig found it when cleaning out the basement when selling it last year). It doesn’t really go with anything, but it doesn’t bother me.
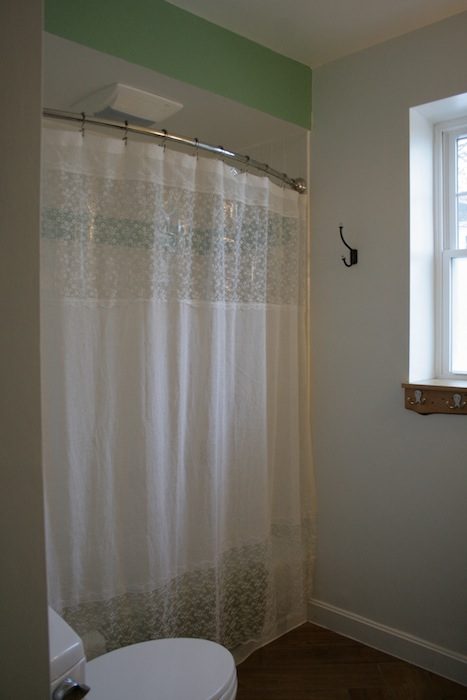
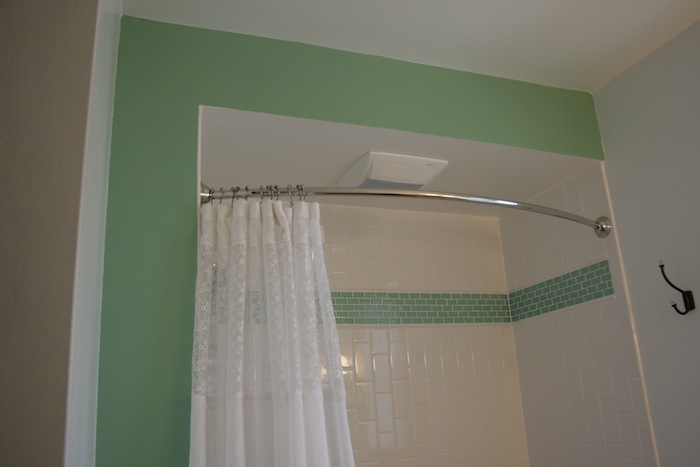
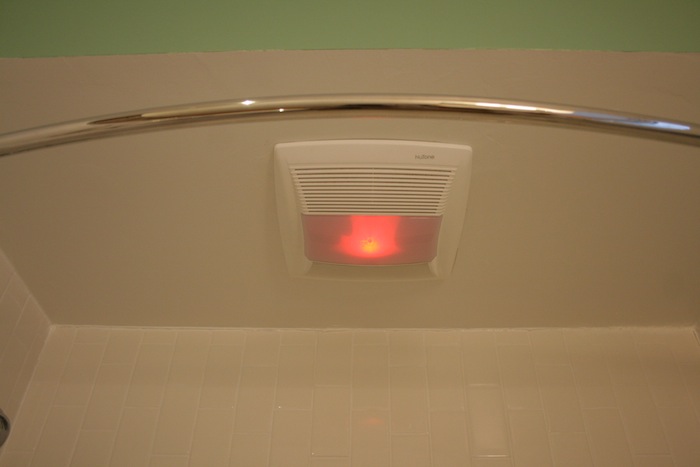
Tig had the great idea to drop the ceiling over the tub so that we could run ducting from the exhaust fan to the outside. I decided to paint wall a different color to match the sea-glass tiles.
I love how the color frames the shower area and creates an alcove.
We decided on a curved shower rod and I picked out hotel style shower curtain rings with separate hooks for the liner and curtain. It’s the little details that make me happy. The shower curtain came with us from our Boston place.
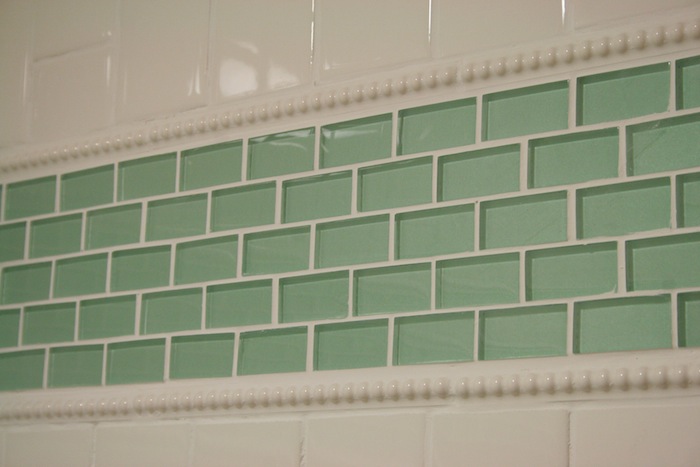
We used cheap white subway tiles from Lowes. Tig suggested a vertical wave pattern, which I really liked. I designed the accent tile strip. The green sea-glass tile came from the ReStore–it was half the price of retail–and the rope-edge banding came from Lowes.
Here’s a close-up of the accent strip.
The exhaust fan is a Nutone brand. There was a nighlight feature as part of the exhaust fan. Tig put in a red LED night light bulb for me. That way, we can navigate in the dark without ruining our night vision. Guess what? It really works!
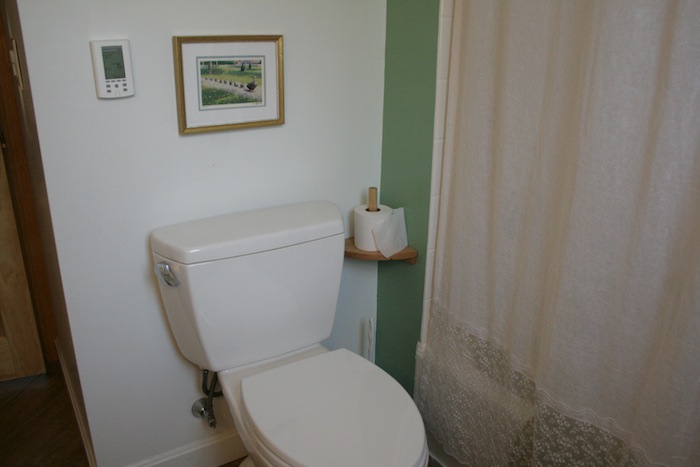
Right next to the shower area is the toilet. You can see the thermostat/timer for the heated floor. I put up a framed print of the Make Way for Ducklings Sculpture at The Boston Commons for nostalgia. Tig made a simple toilet paper holder using the reclaimed studs and a dowel.
One thing you can’t see in this picture is a the mixing valve for the water intake. Tig plumbed a tiny amount of hot water into the mixing valve so that the toilet tank doesn’t sweat in the summer. (In our old bathroom, the cold water would cause condensation to form on the outside of the tank, and then drip down in a puddle onto the floor.) He also installed a water hammer arrestor to prevent loud pipe knocking when the toilet stops filling. I love all the little details he put into this bathroom to make it nice for us.
The toilet was a Toto toilet. We like that particular brand and Tig finds this particular model’s flush very satisfying, haha.
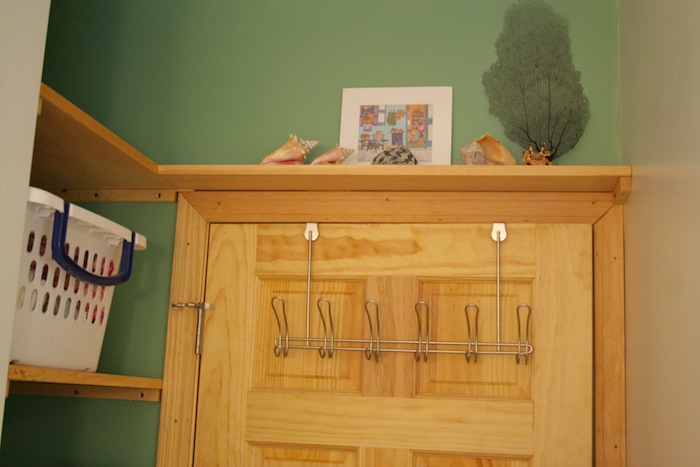
Now we’re back full circle, looking at the door. This is the first time I’ve ever had a built-in linen closet. I had it painted the same sea-glass green color. It creates a visual frame for the doorway.
Tig put in pine shelves treated with Danish Oil. He originally put in plywood shelves but it really didn’t look very good. (That was the only time I asked him to redo something!)
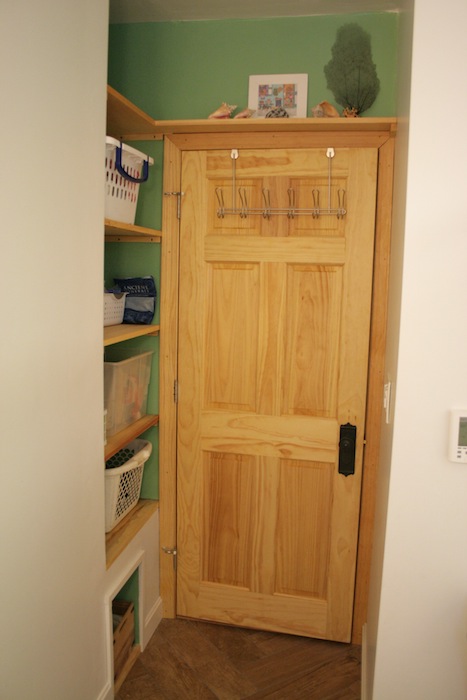
We had a little bit of trouble figuring how the shelves should look. I came up with the idea of extending a ledge from the top shelf across the doorway. The little detail was just what the space called for. We put our leftover seashell collection on the ledge (most of which ended up being buried in the backyard by the kiddos). [Important note: all specimens on this ledge, with the exception of the spiny lobster head which Tig speared in the Bahamas, were collected already empty or dead and washed up on the beach. Please check local regulations and do not take live specimens. End of public service announcement.] I bought the painting in the Bahamas during our first cruise … I still need to frame it. This vignette makes me happy.
So we’re back at the beginning.
The only thing I would change about the bathroom is the tub. We re-used a cast-iron tub from a friend’s house and it was a pain for Tig to repaint it. Now it’s peeling, ugh! That was penny-wise-pound-foolish. If we were to do it over, we would have spent the money on a new Americast tub or something similar. I might consider getting it professionally re-finished.
All-in-all, we’re pretty happy with our bathroom. It’s not design blog-worthy, but it’s functional, it has a lot of nice touches, and it didn’t cost a lot. According to HomeAdvisor, the average cost of a bathroom remodel in 2016 was around $9k. We rebuilt a whole new one on the lower-cost end. What you can’t see in the finished product, but I can feel when I walk into the room, is the time and attention Tig gave to this project.
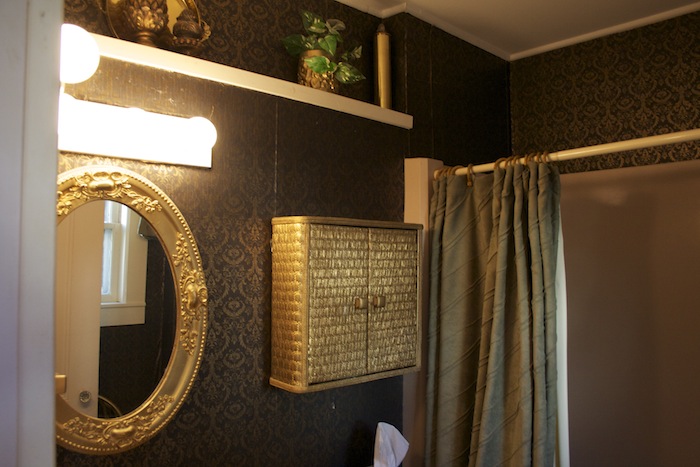
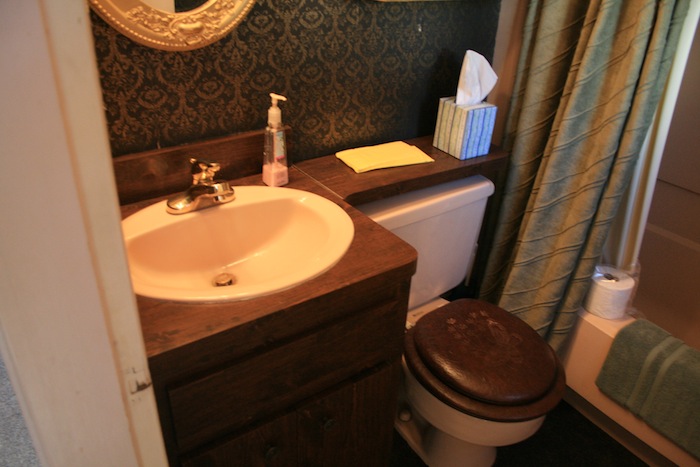
As an aside, here are some pictures of the existing bathroom that came with our house. This bathroom will be ripped out and turned into a pantry per our grand plan.
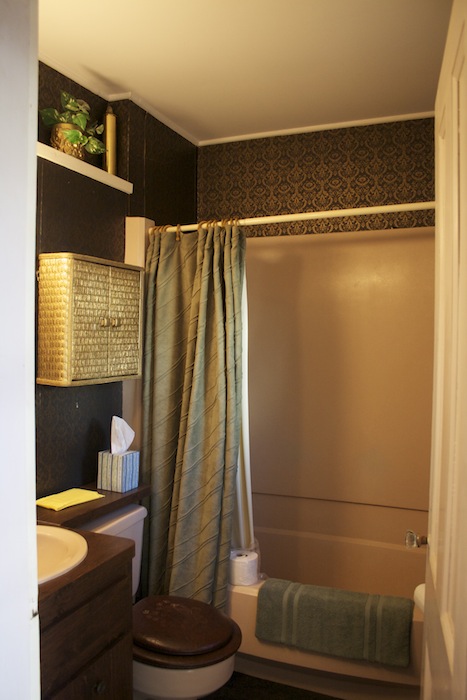
Classic 80’s black and gold, with carpet.
Beige acrylic tub.
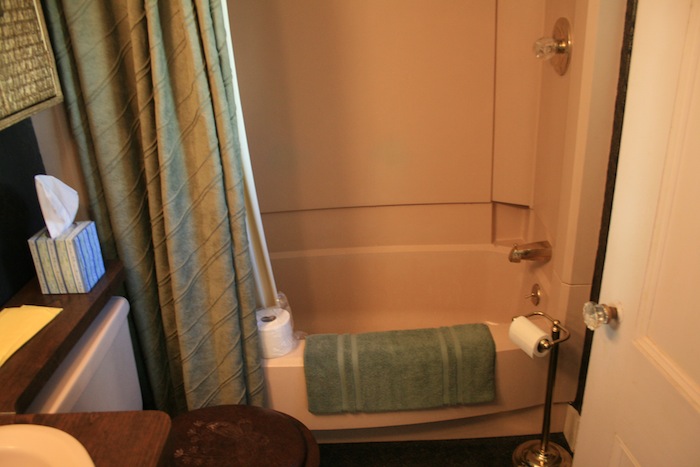
I think we’ll keep the toilet seat for some pranks.
I’d like to close out with a big shout out and thank you’s to:
:: D&G for coming over and helping Tig with the bathroom walls
:: L for lending her shop space and tools and commiserating
:: M, L, A & S for helping to move the tub.
:: Miss D for that fabulous doorknob
And most of all, thank you to Tig for making my vision a reality. Together we make Voltron, Defender of the Universe!
Next we have to tackle a new kitchen.
I’m eager to start posting pics of our new reno project looking like yours. First come the demo shots though, soon. Inspiring!
Can’t wait to see your demo shots. We love seeing fellow remuddlers at work! I hope you got a dumpster (we tried to do without it at first and quickly saw the light and repented).