Family photo books have been my format of choice lately for documenting our travels. After our first sailboat adventure–which we memorialized into a video–my friend Kim from sv Midwatch showed us the books she made for her kids of their amazing two year journey. I was inspired to make on for our second trip.
For our first set of books, I chose Shutterfly for no particular reason other than the fact that there was a 50% off coupon. The books turned out so well that I decided to make more of them and create a collection for our travels.
And then I put that idea of my mind and did nothing for a few years.
This spring, I tackled the project with renewed energy and made three more–I joke that my eyeballs were bleeding by the end. We’re so happy with the way the photobooks have turned out. They have been wonderful to share with grandparents and to show to friends. Technology has made the process so much easier, that I don’t bother with printed photos and arranging photo albums anymore.
Through this process, I’ve worked out a few tips for making your own collection of photobooks.
1. Sort your photos during your trip.
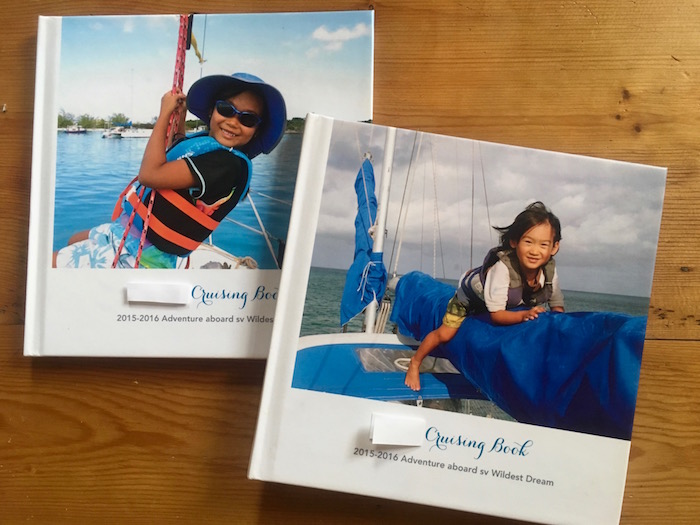
A significant chunk of time was spent sorting through photos and picking out the best ones. The cruising books were the easiest to put together because I followed my friend’s advice to tag and sort the photos during the trip. I had an album set up in iPhotos called “photo album.” Every time I downloaded photos, I would tag the best ones and drag them into the album. By the end of our sailing trip I had a collection of the best shots ready to be uploaded to Shutterfly.
1.5 If you didn’t sort during the trip, do it right after.
For the next three books I was not as organized. I ended up having to gather photos from up three different places (Tig’s smartphone, my smartphone, and our digital SLR). Instead of iPhotos, I used computer folders organized chronologically. For example, our Southeast Asia trip was sorted into:
Bali
Jakarta
Kuala Lumpur
Taiwan
Having everything pre-sorted before making the books made it easier to see whether I was over-represented in one area or skimpy in others. I also preferred to upload photos by folders to Shutterfly and lay them out a chunk at a time instead of uploading 200 photos and then feeling overwhelmed (more on that later).
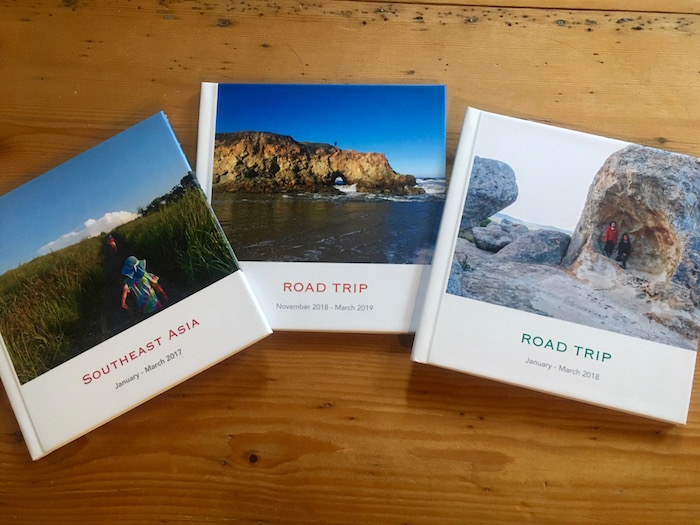
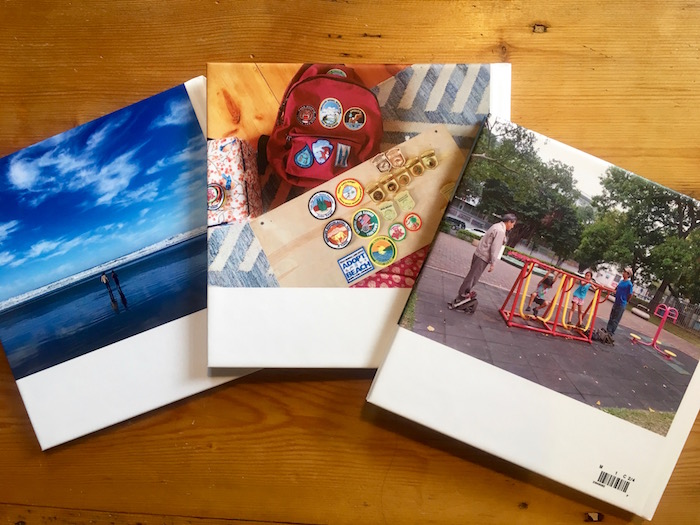
2. Pick a consistent size and format if you prefer a “library collection” look.
If you don’t care, do whatever you want, obviously. My structured personality loves consistency and knowing what to expect.
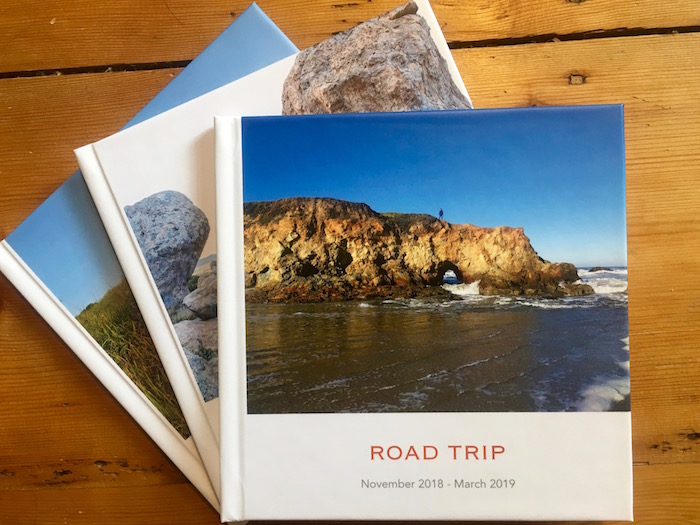
For our books, I chose the 8″ X 8″ hardcover format in a matte finish. All the covers and backs have the same layout with a large cover photo and titles underneath. I used the same fonts throughout but in different colors.
Even the spines are standardized.
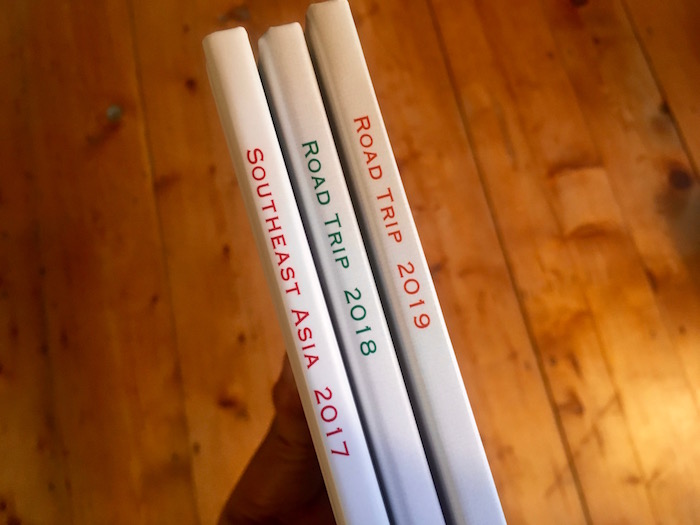
For the Southeast Asia book I used a blank template, and for the two road trips I used the travel template. There were some subtle map backgrounds and page layouts that I thought were suitable for the theme. In general I like clean simple lines and lots of white space.
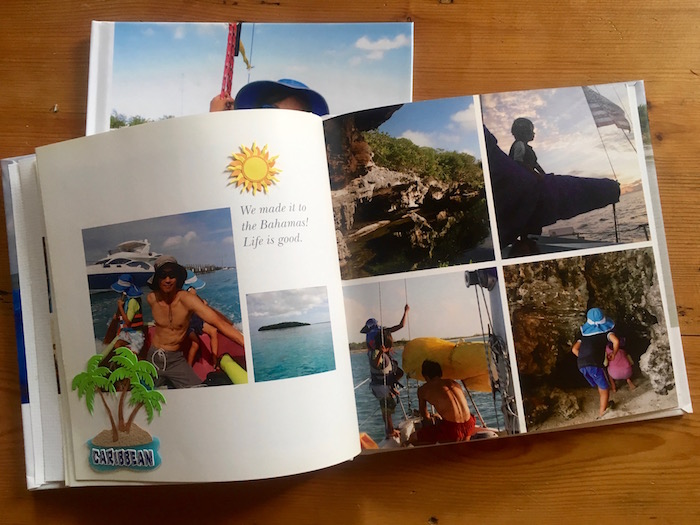
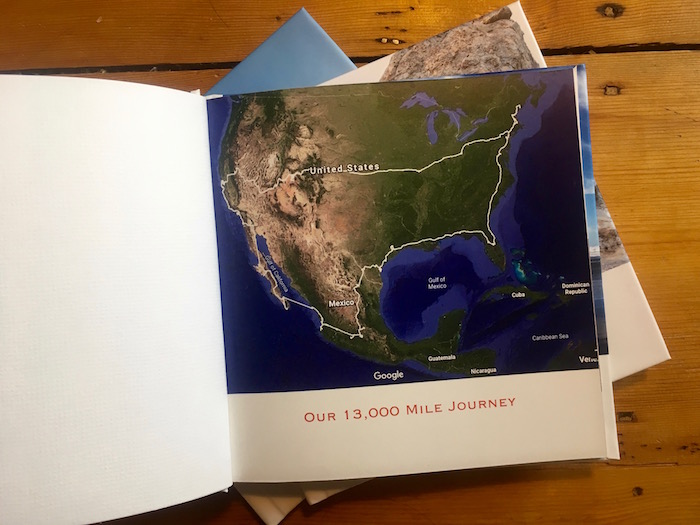
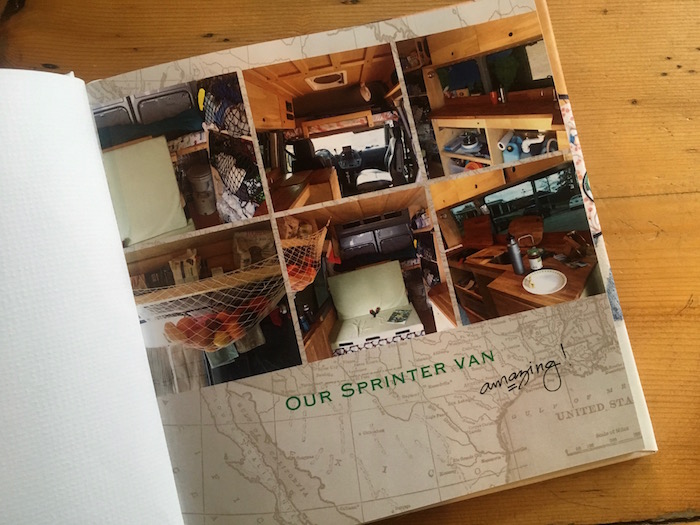
3. Have a little fun with the intro page.
Even though it’s a photo book, you don’t have to stick with the standard photo album format. I borrowed some ideas from scrapbooking to liven up the first page. Here are some ideas to try out:
Give a little overview of your epic trip with a Google Earth map,
be a little cheeky with an inside joke,
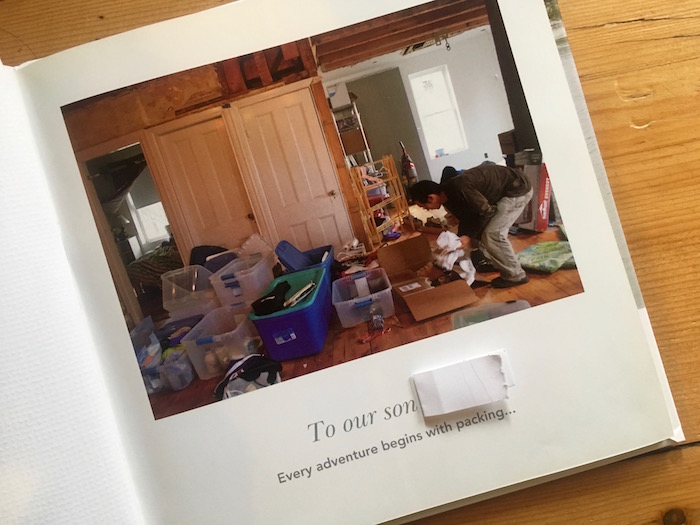
or pay an homage to your van or boat.
Now that you’ve taken care of the the first pages, it’s time to…
4. Chunk it out
Meaning, break your project into manageable-sized chunks. If you’ve organized your trip by folders (see above), this part should go smoother. The folders can help you estimate how many pages your book should be and how much you can squeeze into each page. For example, if you have five folders, you know you can dedicate about four pages to each folder and end up with 20 pages. From there, you can adjust up or down to get the length of book you want.
It’s also a lot less overwhelming to tell yourself, “I’m going to lay out all the photos in one folder this evening,” rather than “I have 500 photos to put into a book, gah!!!!” Breaking the project down into chunks helped me keep my sanity during the process.
5. Check and triple check in preview mode
I spent just as much time checking how everything looked as I did laying out the books. Tig helped as a second pair of eyes to see if there were any errors or formatting issues. Here are some things we looked for:
- Are the photos in the right order? Do they flow well?
- Are the captions right? Are the words spelled correctly?
- Is each photo centered properly? (Shutterfly automatically crops and centers, but you might want to change and adjust the composition of the photos.)
- Are the fonts consistent in type, color and size? (if you like that sort of thing)
All these details help to create a polished look. I’m sure there are still some mistakes in each book, but at least I tried my very best.
Lastly, don’t forget to look at your books and reminisce.
Once you’ve put in the hard work of making the books, take the time to break them out once in a while and reminisce together.
Many of us know that experiences brings us more happiness than material things. Now, we are also learning that we can 3x our experiences by book-ending them with anticipation and reminiscence. Research has shown that anticipation increases the enjoyment of experiences, and on the back-end, reminiscing “can help people gain critical insights; enhance happiness and increase life satisfaction.”
Looking at our photobooks helps us to remember the awesome parts of our travels, laugh at the hard parts, and feel more connected as a family.
I hope you get to make a few of your own. Happy bookmaking!
This is just the post I needed to inspire me to start a long overdue photo project. Thanks for the tips!
Good luck on your project, Beth!