The dinghy building continues…
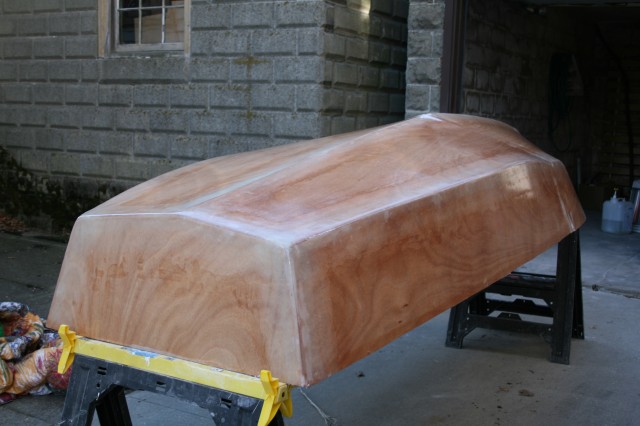
The taped edges of the hull exterior were faired and sanded. We then layed a roll of fiberglass across the bottom and epoxied it in place. Then we did a little more sanding. Then we filled the weave of the fiberglass to get a nice smooth bottom. And some more sanding (we’ve used up over 100 sanding discs on the random orbital sander).
Next up were the gunwales or outwales. Followed by the inwales. We carefully clamped and then screwed the outwales in place.
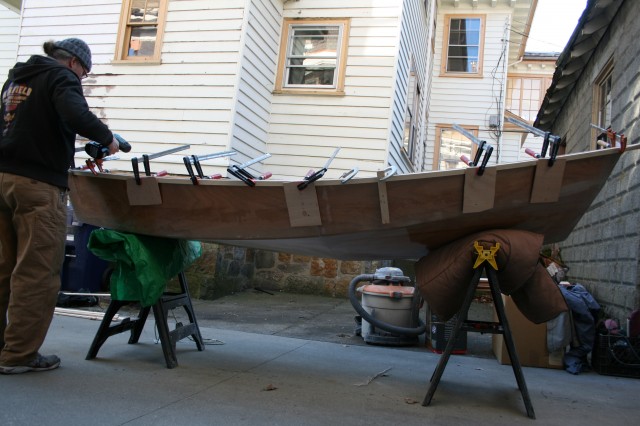
Once we liked the lines and positioning of the outwales, we glued them in place. We then repeated the process for the inwales.
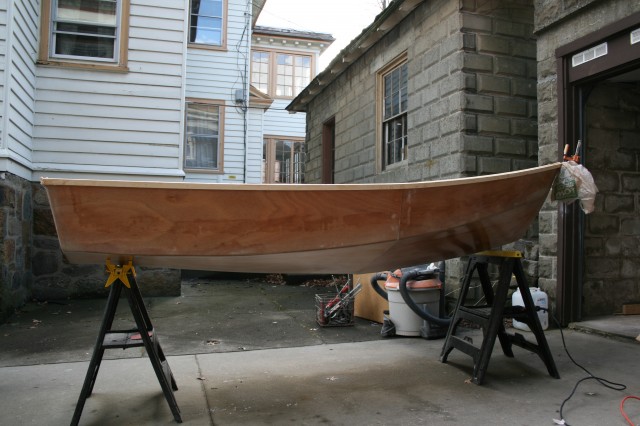
Next we worked on the knees or corner braces. The plans called for doubling up pieces of the marine plywood, but instead we used some scrap hardwood mahogany (the brown pieces in the pic below) and shaped them to fit snugly. They were set in place with thickened epoxy and some screws.
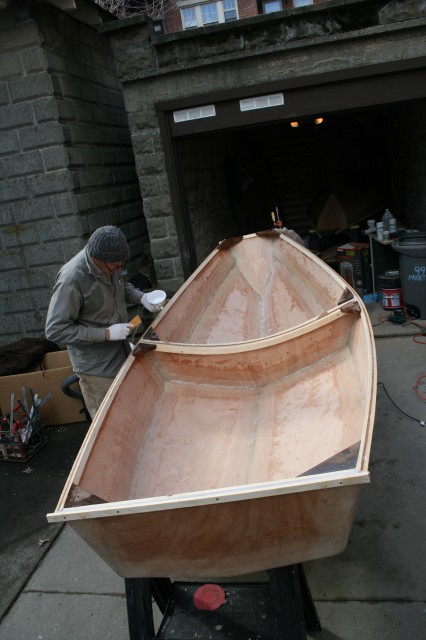
Once epoxy was set, all the screws came out and holes were filled with bondo.
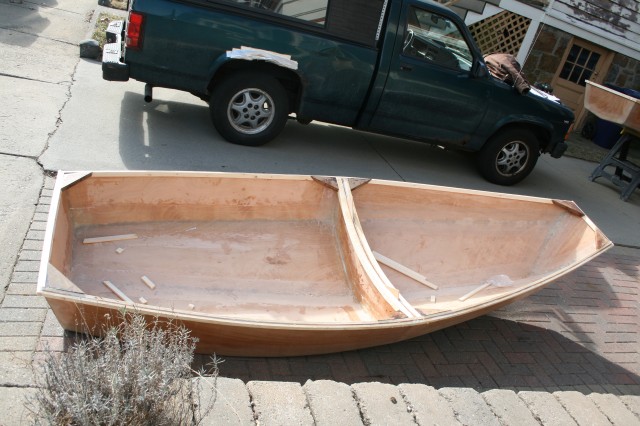
It’s starting to look like a real boat. Next up is the interior finishings and possibly cutting the boat in half.
