After stitching all the pieces of the dinghy together, Tim and I moved on to glueing the joints.

The mating bulkheads (the 2 interior walls) were aligned and slightly spaced with screws. After the boat is fiberglassed, the dinghy can then be cut in half between the two bulkheads to create two nesting sections. The interior joints were roughly filled with a peanut butter like mixture of epoxy and sawdust. After the mixture cured, the cable ties were removed and more epoxy/sawdust mix was used to fill any gaps.

The next step was to tape up the joints with fiberglass tape and epoxy. The tape was “wetted out” or saturated with epoxy and then two overlapping strips of tape were laid out over the filleted joints.


Then we flipped the boat and work on the bottom proceeded. First it was sanded, then gaps were filled and smoothed out with Bondo (a joint compound), followed by more sanding. Bondo sands really well and cures fast. In the picture above, the screwed in piece of wood is called a “butt block”. It’s a scrap piece of wood that is used to temporarily hold the 2 halves in place. You can also see the black screws sticking out which are used for keeping the correct spacing between the two halves.

Then the exterior joints were then taped in a similar fashion to the interior joints.
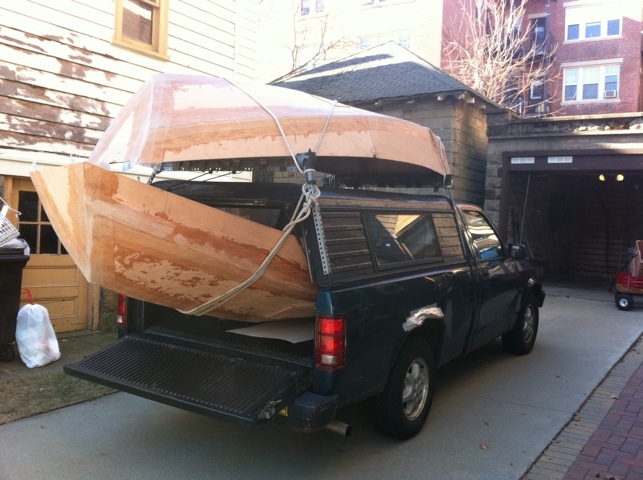
After the latest round of work, we discovered that the project proved to be far too smelly and noisy for our basement, so we had to find a new workshop location. We threw the dinghies into Tim’s truck and relocated them a mile away. A shout out to Victor for letting us camp out in his garage. And so the work continues…
Love the redneck chrome on the truck fender!