It was an exciting time. It was a confusing time. We had just closed on the boat when the upscale boatyard told us they wanted us to get new batteries in sooner. Spring launch was around the corner, and our boat needed to be mobile to make room.
Tig anxiously paced our apartment daily, his brows furrowed, deep in thought. I heard bits of his mutterings: starting batteries vs deep-cycle batteries, lead-acid batteries, gel, AGM, new regulator, new shore power charger. ‘The battery box isn’t deep enough,’ he would exclaim before falling into another deep thought. Through our friend Tim’s recommendation, he called an automotive supply store to talk to a battery guy.
So what did he end up getting? I’ll let him tell the story. –Serena
The boat has been officially ours for a couple of weeks and I’ve already completed one boat project. Hooray!
After the whole “battery drama” that Serena alluded to, I decided to stick with the same batteries that fit into the space currently. That means a low profile 4D starting battery (8″ height). Not ideal. But since we’ll be at the dock most of the time, the batteries can be topped up regularly and easily with the shore power charger. I’d much rather have some deep-cycle batteries, but hopefully these will last at least a couple of years. In the meantime, I can slowly upgrade the electrical system to meet the future demands.
Here’s a pic of the first time we saw the batteries, in the dead of winter. Note the chunk of ice in the spare (third) battery compartment. Not the best sign, eh?
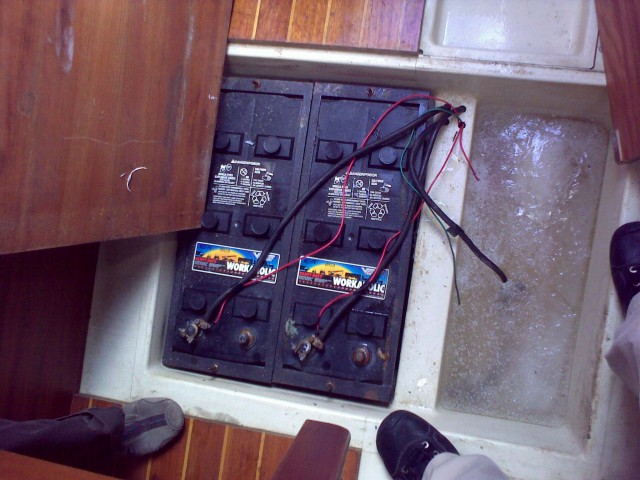
On one of my boat visits, I removed the dead batteries. This involved first removing the rusted tight tie-down bolts first. I found some lubricant in one of the lockers and tried to loosen the nuts. I only managed to get two nuts off, and I broke the other two bolts completely. After removing the metal brackets that hold down the battery, and then the battery, I could see a puddle of water at the bottom of the box (probably left over from this winter’s flooding snow melt). After the batteries were out and I cleaned the box up, I left with two intact, but rusty tie-down bolts. So I had to either buy or make some new ones.
After a trip to big box improvement store and $6 later, I had a new four foot threaded stainless steel rod and some stainless steel bolts to go with it. Granted it was the cheap stainless steel, but these are inside the boat, under the floorboards. Hopefully, they should last longer than the batteries.
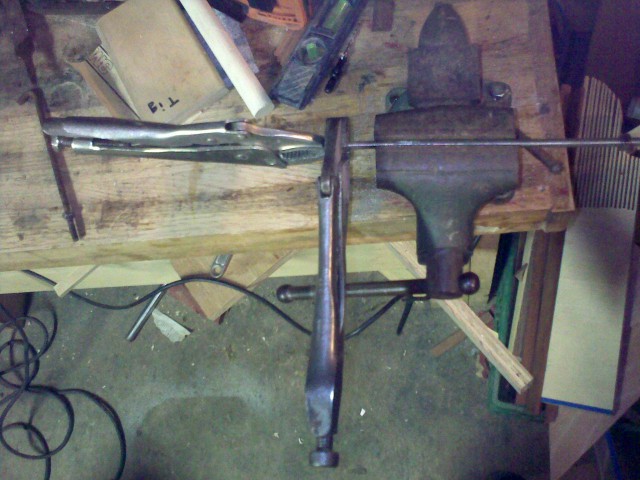
I hacked off about one foot lengths of rod, put the new rod in a vise, heated up the area that needed to be bent with a propane torch for roughly 15 seconds, and used some vise grips (the pliers) to bend the rod to the appropriate angle. About half an hour later, I had four new tie-down bolts for the batteries. (Sorry about the poor quality photos – camera phone + poor basement light = crappy pics)
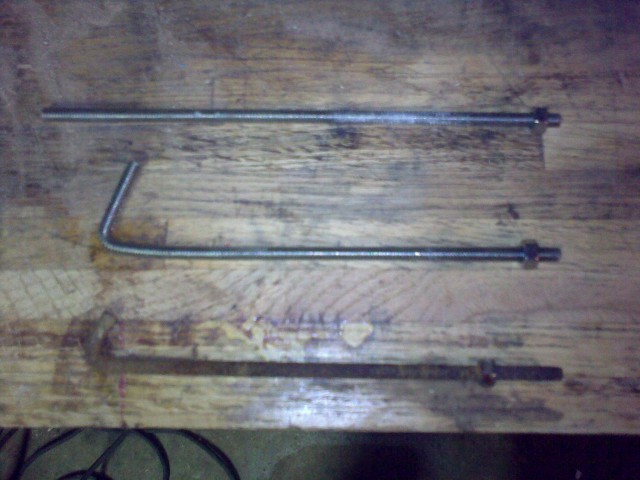
From top to bottom: New threaded rod, angled threaded rod as tie-down bolt, and old rusted tie-down bolt.
Time to test the threaded rod pieces. Fits perfectly. The angled end goes through a hole in the battery box and the straight end goes through the metal bracket that holds down the top of the battery.
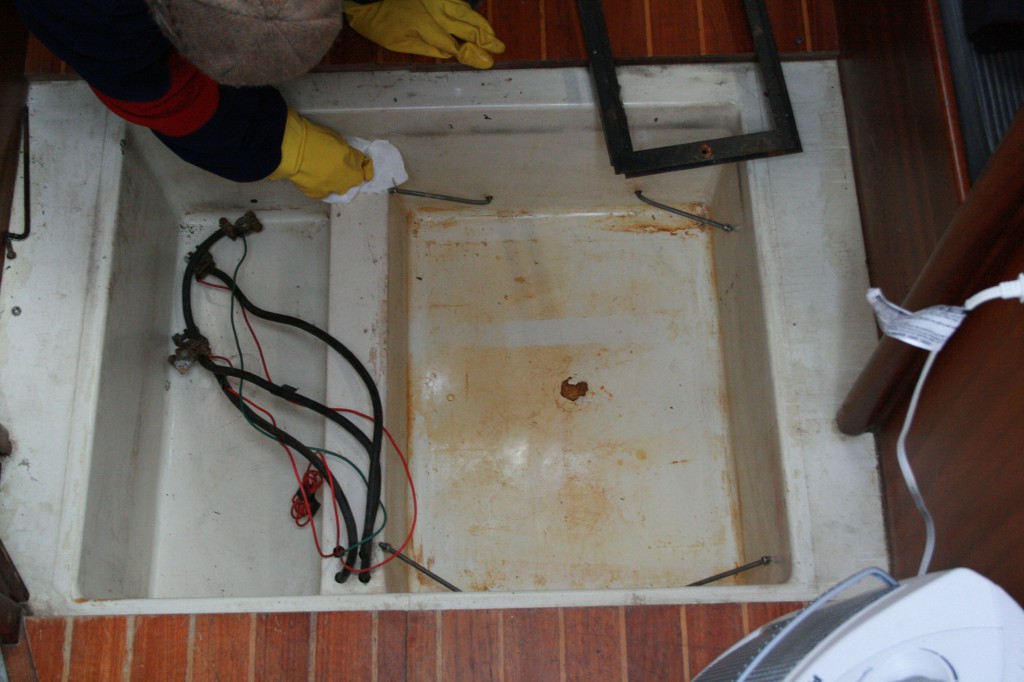
After cleaning up the terminal fittings with a wire brush and some steel wool (leftover corrosion), the new batteries were placed in the box and voila! The hardest part, was moving those 90lb batteries up and down the companionway steps.
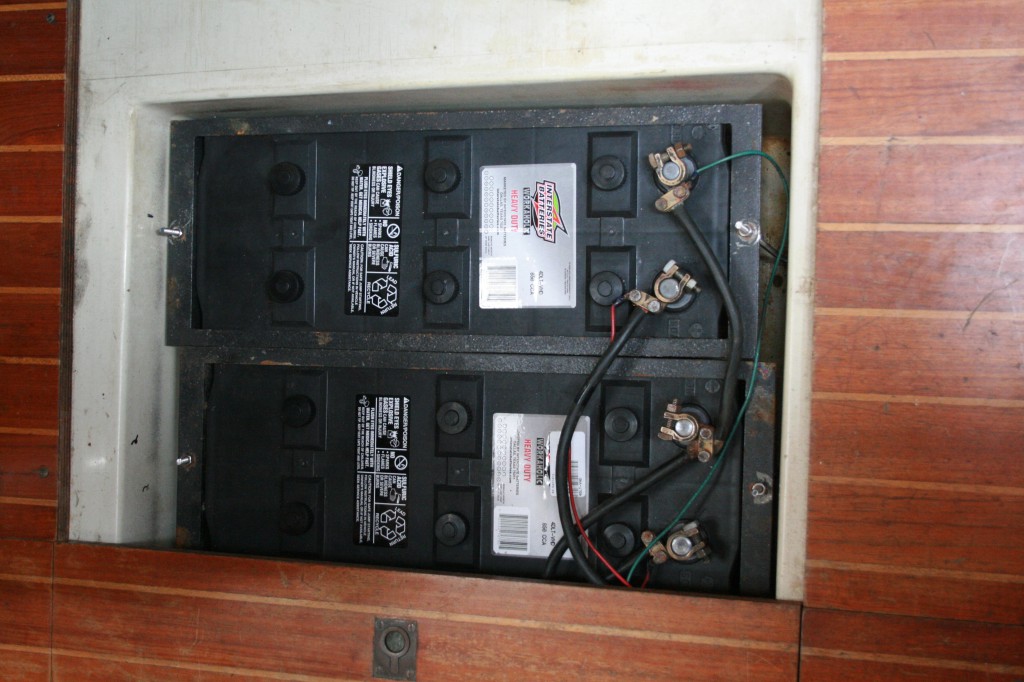
Only thing left to do with the batteries is to put some petroleum jelly on the terminal ends to help prevent corrosion and make some chafe guards for the battery wires where they come up through the fiberglass box.
